
Our office is pretty hardworking – its my sewing room, craft room, office, Matt’s office, his photo editing space and the guitar room. Oh and its also the smallest room in the house. Typical. Matthew and I have always shared an office – even when we didn’t have too. We are just one of those weird couples that like to be together. Even if we are doing are own thing – we just like being in the same space. I know gag me – but i just can’t help it! I like the guy…a whole lot!
So back to the office. When we moved in after many months of it being the “junk room” we finally got it set up. Matt had his desk and I had my little sewing table. But then something happened. We made some life changes. We decided that it would be best if I was home with the kids and while its been a good change, it was definitely a transition and I needed a little bit of an outlet. So I started blogging, I started sewing more and I took over the treasurer position for the church. My little sewing table just wasn’t cutting it anymore, things were starting to pile up, I needed more space and the multi purpose office was becoming a “junk room” again.
So this is the part where I’m going to warn you to look away. I’m about to show you some before pictures and some might find them disturbing ;P
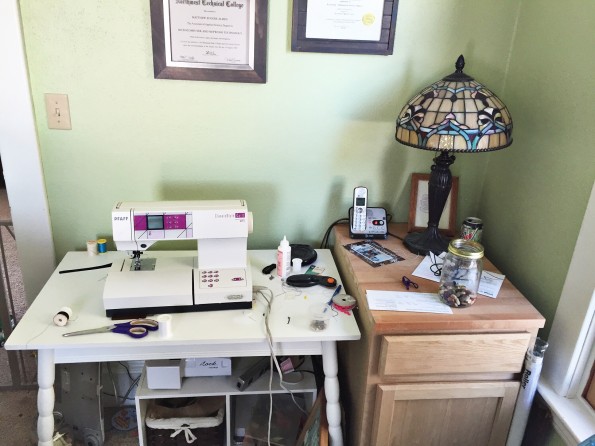
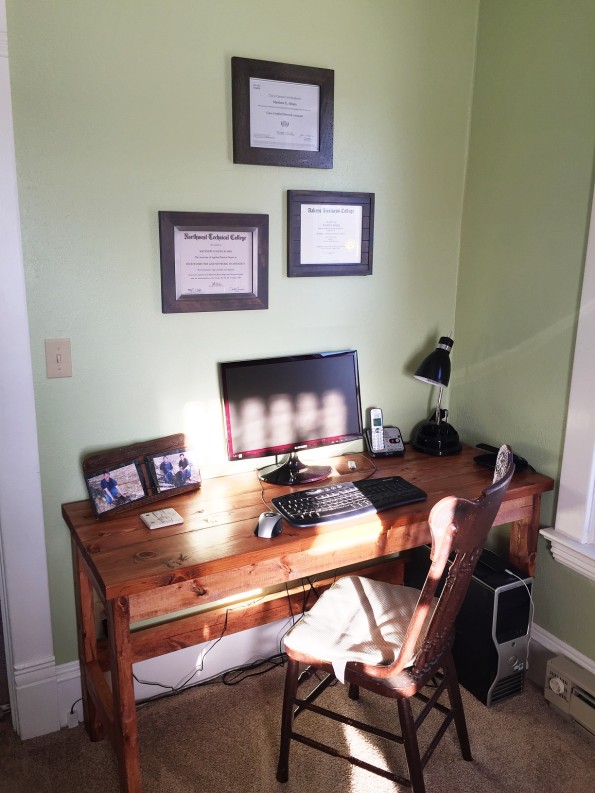
My little sewing table – it is a really cute table I plan to use it somewhere else – I just gotta figure out where exactly.
And then well behind me is where things got bad….real bad…
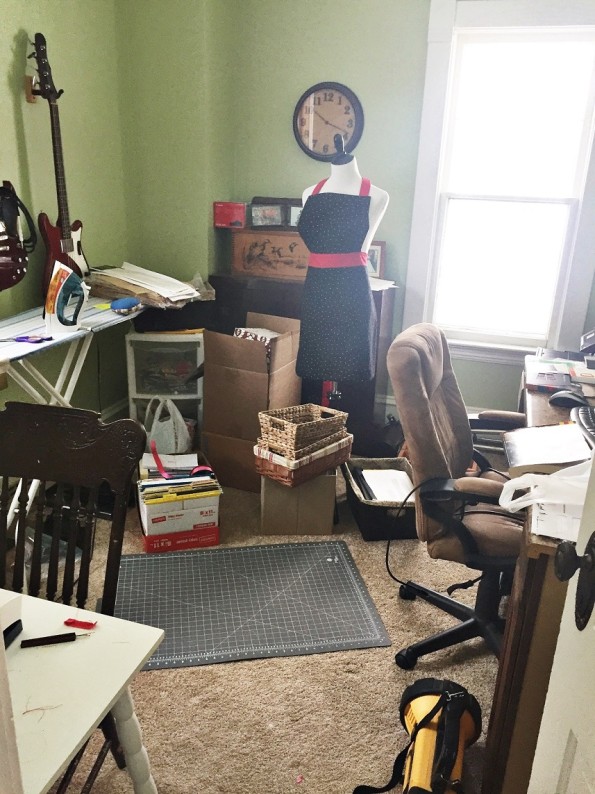
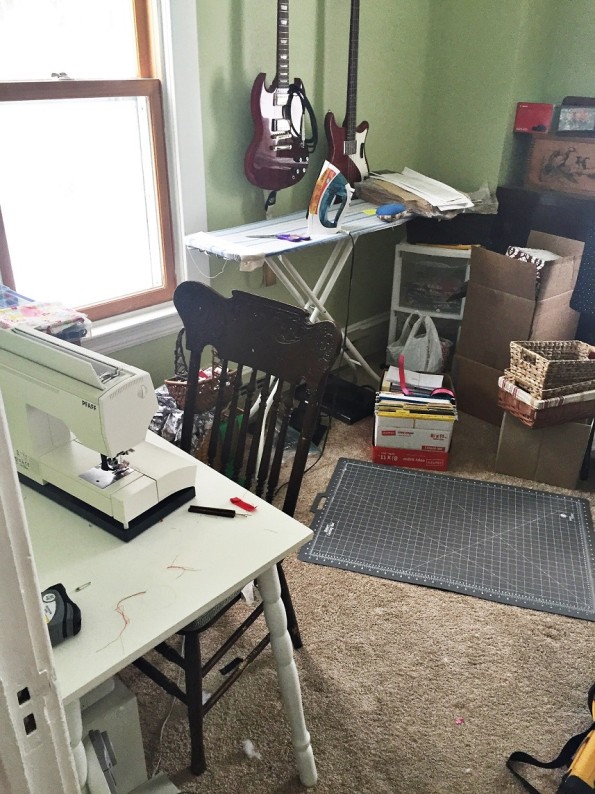
I know hoarderville. It was a problem and I didn’t need an intervention to know I needed to make a change. I needed to make this a space I could come to after the kids go to bed and find a little of sanctuary and inspiration. So here is what I did:
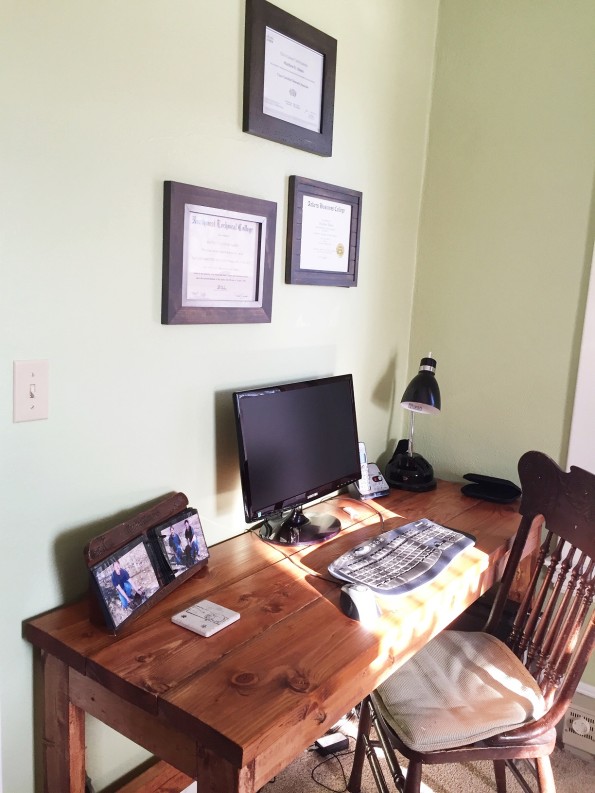
First I rearranged. Matthew graciously offered to take the smaller wall since his stuff doesn’t quite take up so much space 😉 Originally Matthew’s desk was one we made out of two stock cabinets that we cut off the toe kick area and put a remnant countertop on. It worked as a quick and easy desk but never really fit him right. So I built him a longer version of the desk I had made for Jack:
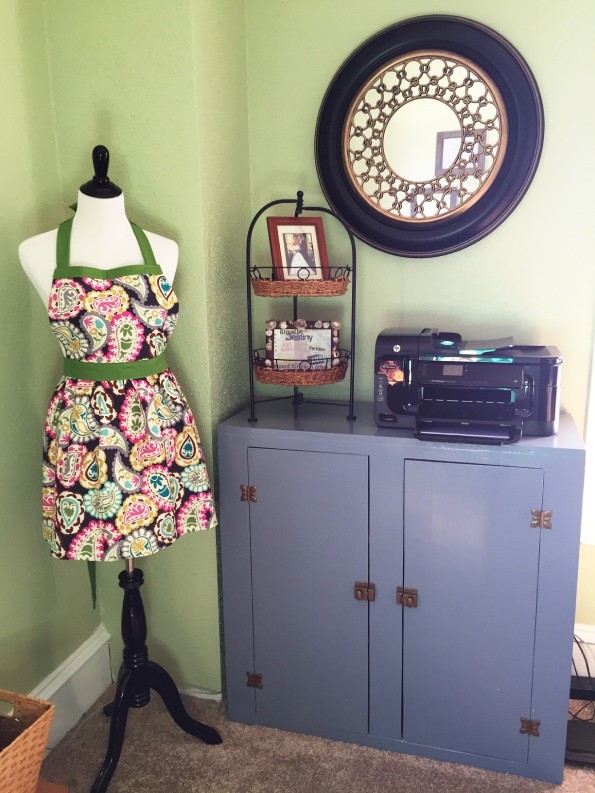
To give him a little more storage I took a hutch I had bought at rummage sale probably 10 years ago for $1 and gave it a paint job. I painted it the same color I was going to paint my desk area. This was paint I had actually bought for the kitchen cabinets originally. It was a mistake because I told them the wrong color – I think it is probably only a shade different than what I ended up using on the kitchen but I knew that this $60 mistake was going to bug me forever so I went back for the shade I really wanted. It turned out to be a happy mistake though because I really like the color here in the office. So he gets this whole hutch for all his supplies and it works quite well. I still might get or make a little desktop organizer for papers but we’ll see what he needs for sure.
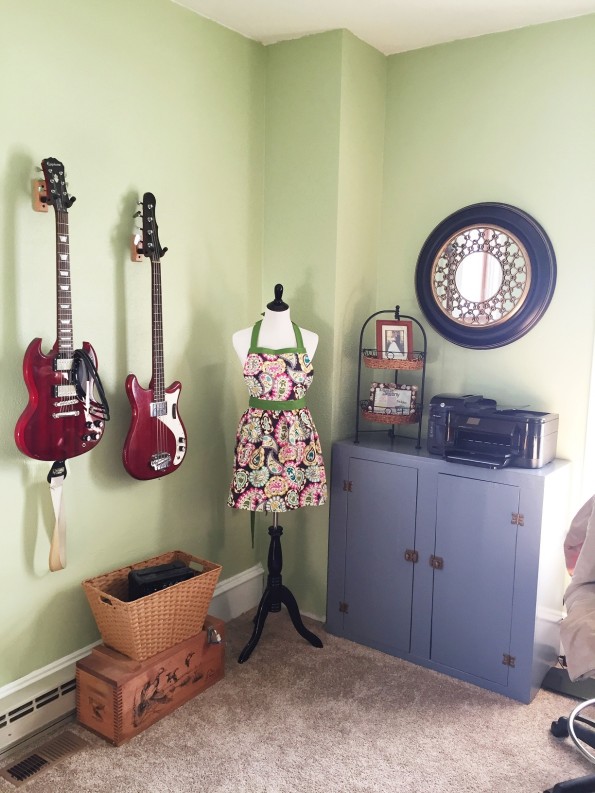
Here’s another view which shows how we hung up his guitars. I like this area – I like how it kind of gives us a chance to display our interests even if they are different. Don’t mind the missing baseboard. That little jut-out wall is from when we had furnace put in the house this last fall. To get the venting to the second floor bedrooms we had to run it on the outside of the walls since they are all plaster and lath and didn’t have room inside the walls. We put drywall around the vents but we can’t find the baseboard trim in stores anymore since its over a 100 years old. Luckily my grandma’s house (which will be torn down soon – tear- that’s a story for another day) has the exact same trim so we are going to take it out of her house and patch in where we need to. I really love the idea of being able use things from her house in my home.
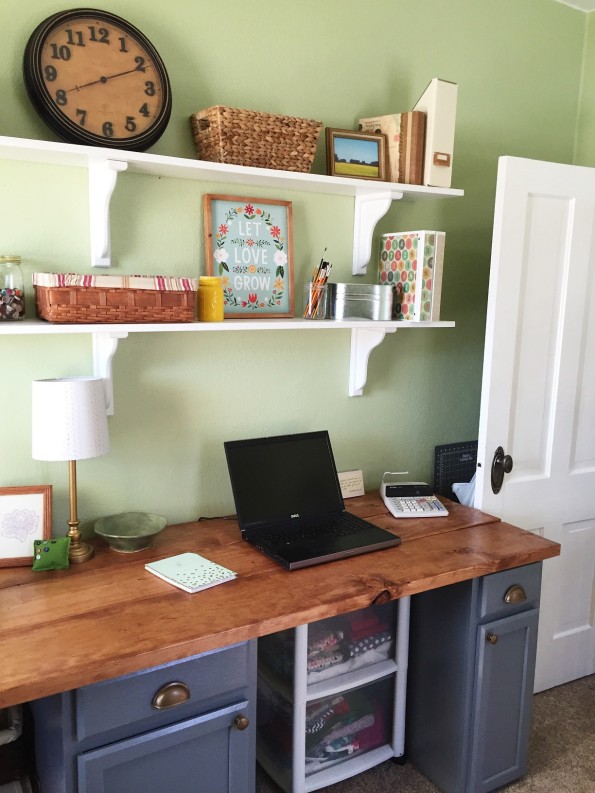
Next it was on to my space. I had a plan folks. I knew exactly what I wanted and how I wanted it took look. I wanted a super long desk ( or as long as the room allowed) where I could have my sewing and craft area on one side and my computer and office area on the other side. Then I wanted shelving above to put all my supplies. To do this I took the three stock cabinets we already had (we had bought and used these in our old house for storage) and painted them. Next I took three 2x8x8’s and laid them across for the desk top. Last I bought wooden brackets and 1x10x8’s for the shelving, painted them white and hung them. It turned out pretty much exactly how I was hoping:
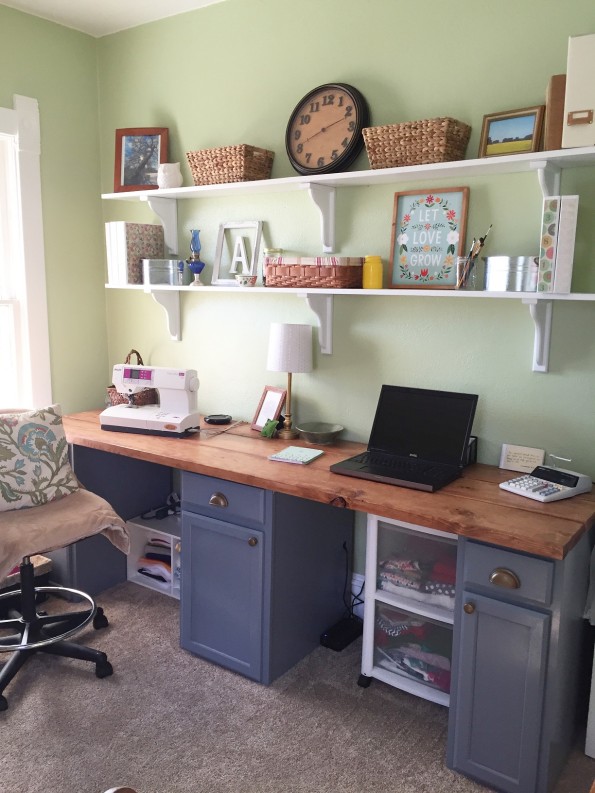
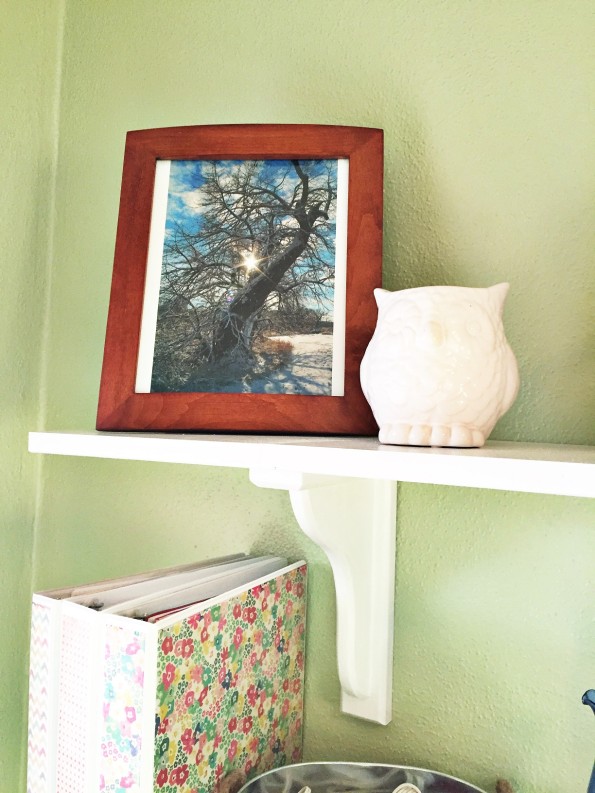
With the stock cabinets I have so much room and I added some dollar hardware that I spray painted to match the hutch hardware to make them even more pretty. Because the desk area is pretty deep you can see I have room to store things under them as well. For the shelves I used all baskets I already had and fill them with supplies. I also displayed a couple landscape pictures we’ve taken to add some color.
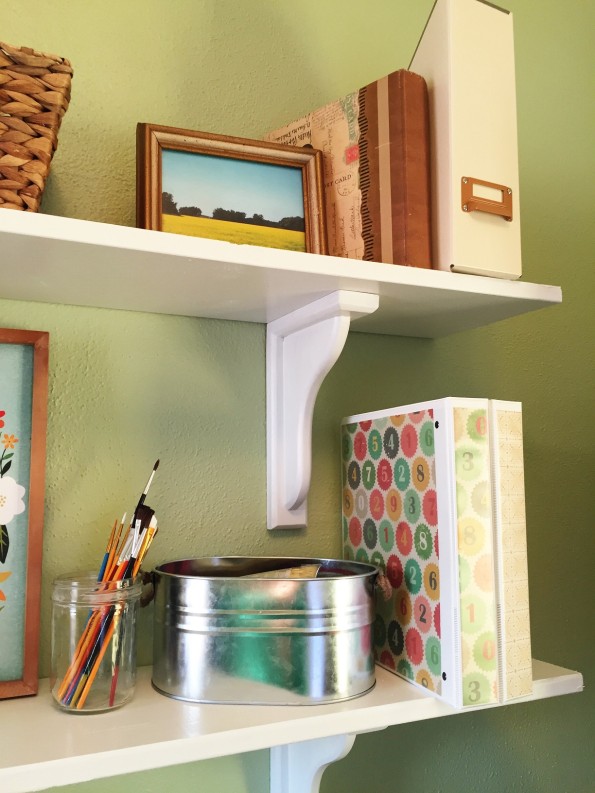
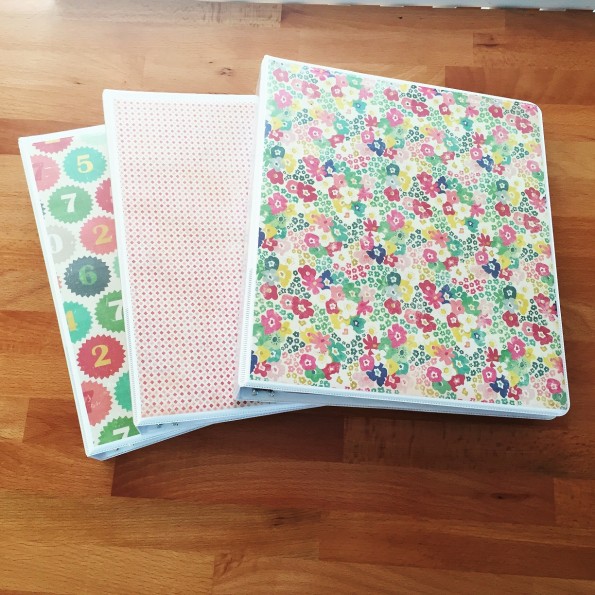
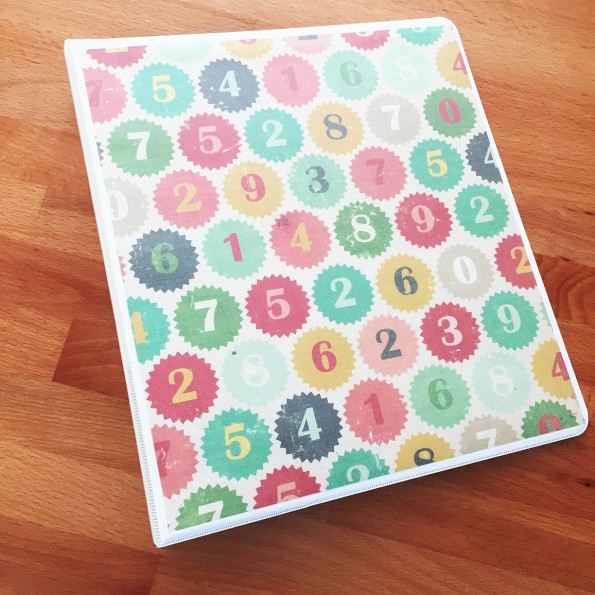
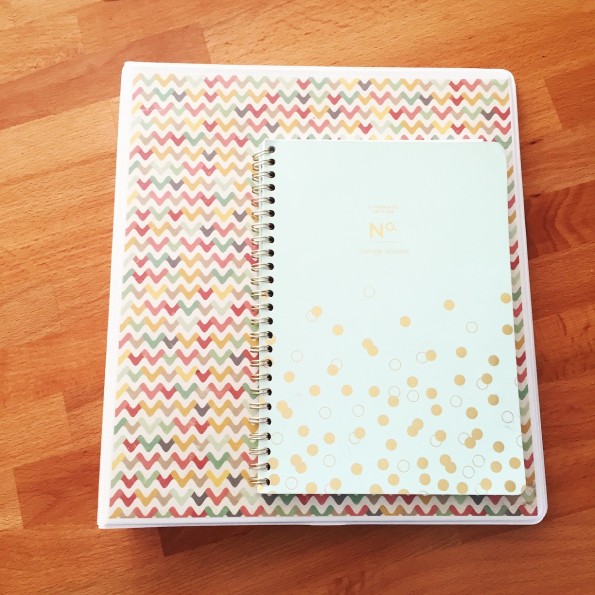
I like to keep things in binders as a way to stay organized. Me staying organized is a constant struggle. I ‘m such a Type A wannabe in a crafty person body. It’s an eternal clash of the titans. Since I was going to be displaying them, I wanted my binders to be pretty (of course – who doesn’t want pretty binders!). But all the the pretty binders were like $20 and I wasn’t going to pay that. So I bought a pack of 5 white binders that had clear vinyl covers for $10 and inserted some really pretty (have I said “pretty” enough in this paragraph?) craft paper. They turned out super…you guessed it… pretty.
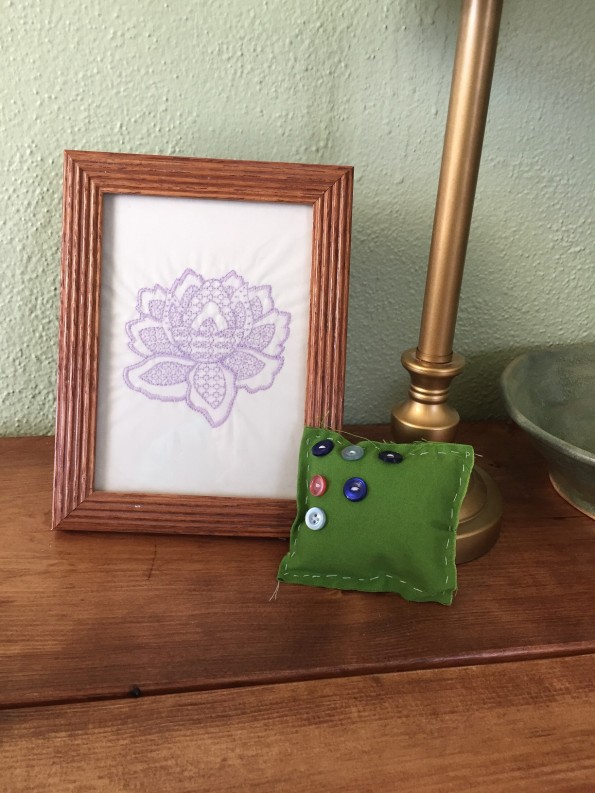
I also filled the space with mementos that mean something to me. Like the embroidered flower that was made for my Grandma France’s funeral and the little pillow that Emma created.
The last thing I needed for my new office space was a new coffee cup. I think what it says pretty much sums it up.

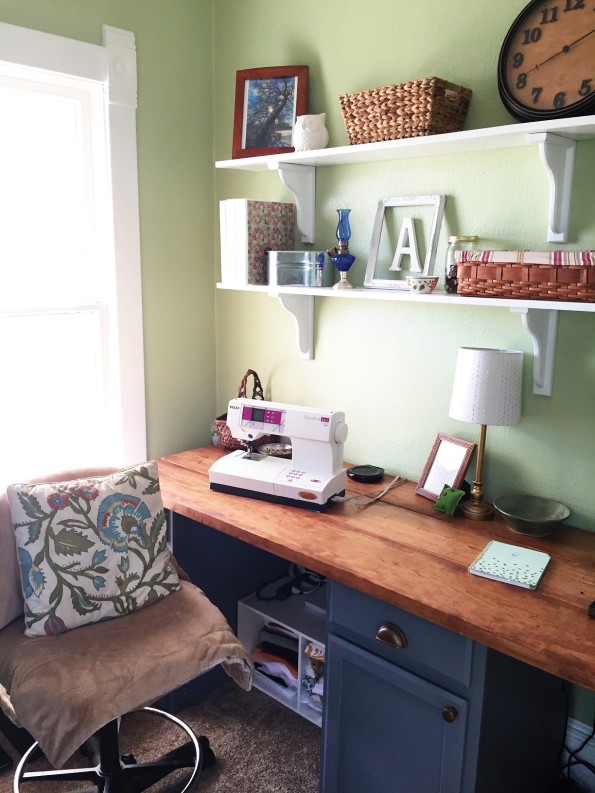
Here’s just a couple last views of my desk area. I’m so happy to have clean organized space to do my paperwork and the church bookwork at. I’m also so happy to have a pretty and inspiring sewing and craft area – I can’t wait to see what I create here!
Just. Awesome. 🙂
Thanks Auntie Jess!!
Amazing and so PRETTY
LOL! Thank you Auntie Sue! I do like PRETTY 🙂
That looks so great! I luv it!
Thank you Jill!!
This is truly impressive. So practical, functional and beautiful! Kudos!
Thank you so much Cristen! You are so sweet and encouraging!!
I love the transformation. you make me want to live in a farmhouse…??