
It’s Christmas and with that comes a lot of activities you do in excess: eating, drinking , laughing with friends and family, swearing while you try to figure out where you set down your scissors and/or tape as you wrap presents ? – is that last one just me?! Another thing I do in excess at Christmas is stalking Pinterest and crafting until my fingers are ready to fall off. I always start out with just a couple ideas in mind and by the end it looks like Santa’s workshop in my craft room! So over the next few weeks I’ll be sharing what I’ve been working on.
Here is a picture of my kitchen shelves all styled up for Christmas .
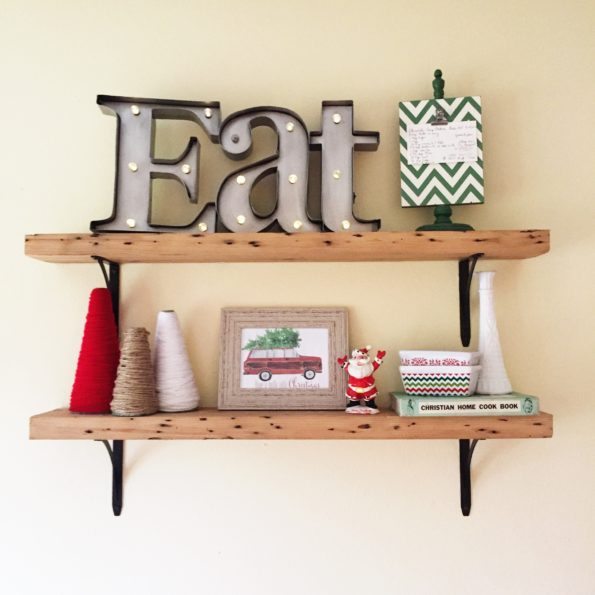
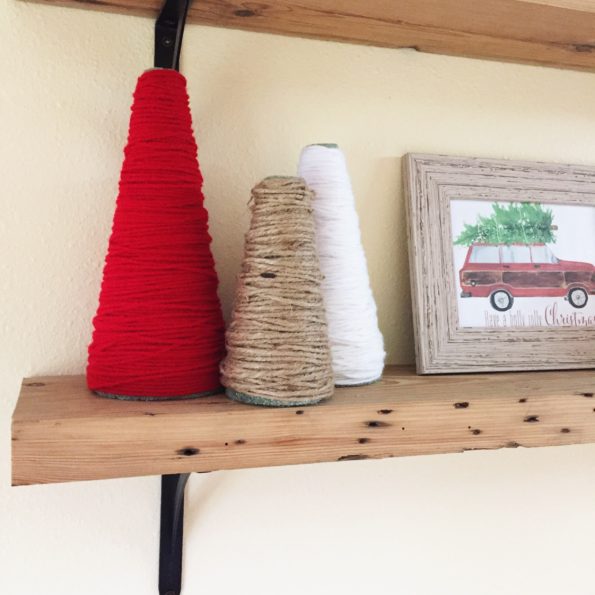
I had my daughter help me wrap yarn around some foam cones to look like colorful little trees and then framed a cute free printable.
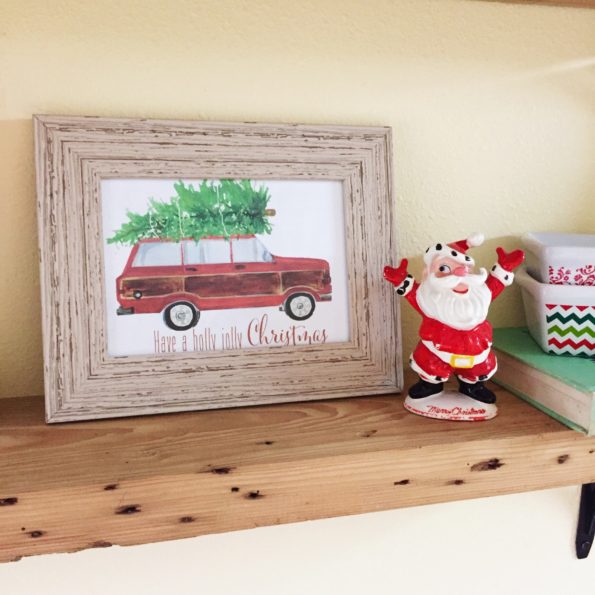
There’s just something about a picture of Christmas tree on top of an old vehicle that makes me happy! Here is the link if you would like to print one for yourself. http://www.craftberrybush.com/2015/11/free-christmas-printable.html
While I was looking for the printable I came across this beautiful piece of inspiration eye candy.
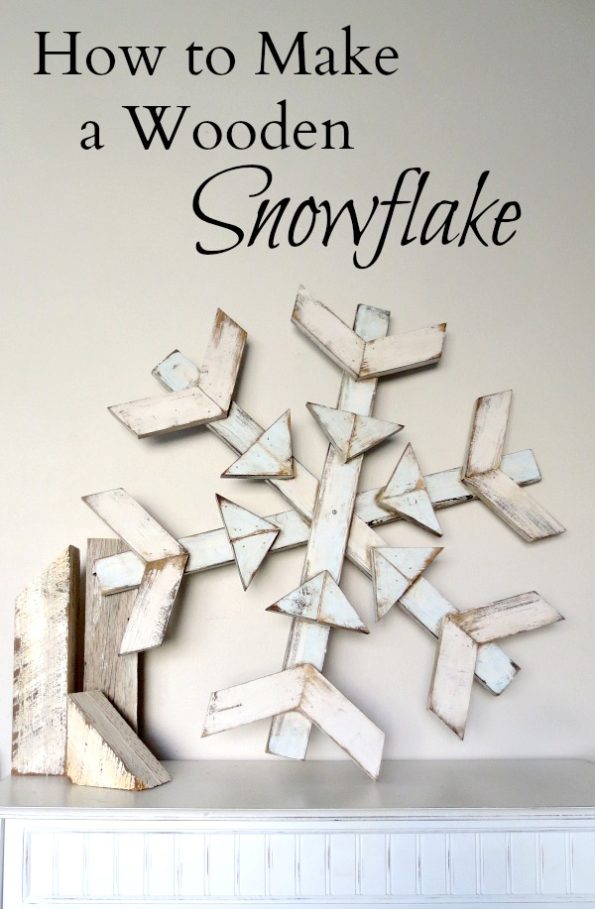
I knew right then and there I wanted one! Here is the link which includes a tutorial plus video http://www.myalteredstate.co/make-wooden-snowflake-video/
It was a really fun build because it challenged me to work on my angles which I haven’t done a lot of in the past. I only have a circular saw and jig saw. A miter saw would have worked slick but like I said I don’t have one of those right now and I didn’t feel like going out to borrow one. Usually when I get a chance to saw lumber its a little here and a little there. My saw made the process slower but it still got the job done.
First I went though my spare wood pile. I had two of these1/2″x6″ aspen boards.
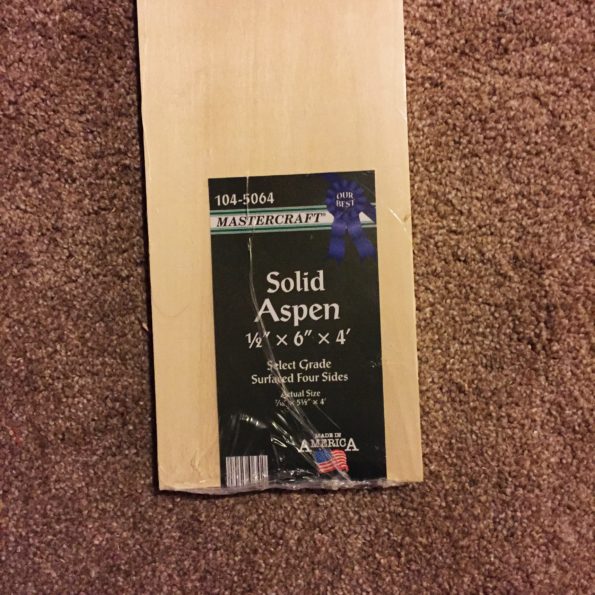
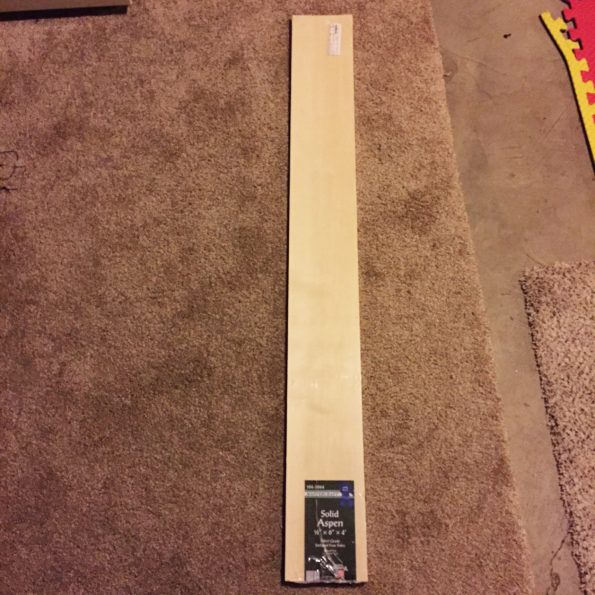
The plans called for 1×4’s but I like the idea of using a 1/2″ board to make the snowflake lighter in case I wanted to hang it. Six inches was too wide though so I had to rip my boards in half length wise. A table saw would have been awesome but again we just gotta work with what we got sometimes, right. Plus I find if you can sew a straight line with a sewing machine you can cut a straight line with a circular saw. But enough nerdy saw talk!
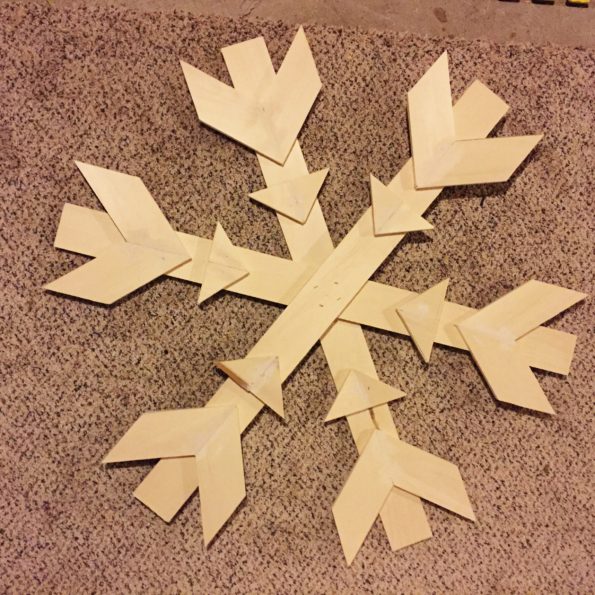
I made all my cuts and went to work assembling. It’s really a fun project and goes together sort of like a puzzle. I used my pneumatic stapler and wood glue to secure the pieces. Here’s what it looks when it’s all pieced together.
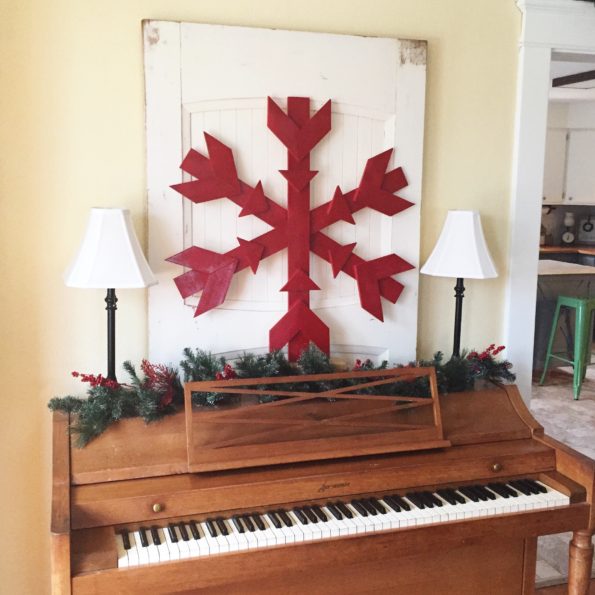
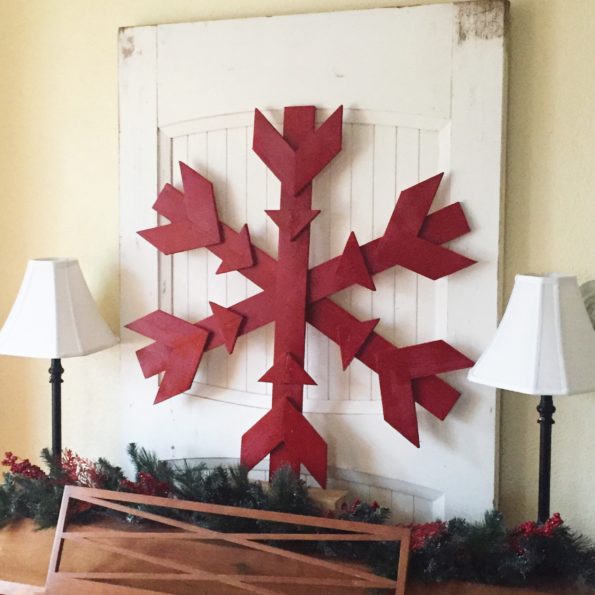
Next came the decision on how to finish it. Both my husband and daughter suggested white with blue paint and sparkles. It would have been very cute but I wanted to put it against an old white door and I wanted it to pop.
Soooo I went with red. Not a very conventional snowflake color but I’m doing a traditional red and green theme this year so I love it! Here it is all set up.
That’s it for today! Mother duty calls – apparently kids like to eat supper sometimes – oh you know probably not the supper I’m making; but we like to humor each other with that fun little game where they act like they haven’t eaten in days and I cook a really good meal but then they turn their noses up at it. ?
Ahh good times! Anyways I can’t wait to share more with you throughout the month! I wish you all a very blessed Christmas season!
Great ideas!
Love the yarn around the cones…may have to borrow that idea! And fabulous job on the snowflake!
Love the snowflake!